
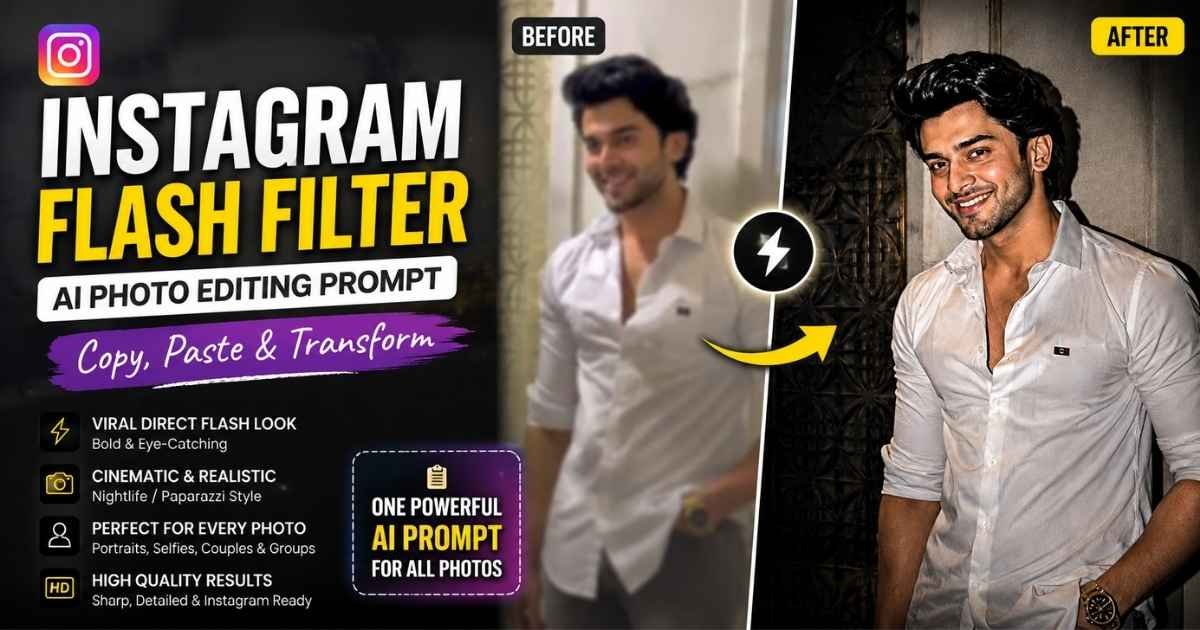
Instagram Flash Filter AI Photo Editing Prompt – Viral 2026
Want the viral direct-flash look seen in stylish Instagram portraits without manually adjusting lighting, contrast, and grain? This Instagram flash filter AI photo editing prompt is designed to transform an existing photo into a bold flash-photography aesthetic while keeping the original subject and scene recognizable. The effect combines bright on-camera flash, a darker background, defined shadows, cinematic contrast, subtle film grain, and natural skin tones for a polished nightlife or paparazzi-style finish.
Below, you can copy one detailed AI prompt and use it with a compatible image editor for portraits, selfies, couples, friends, or group photos. You can also customize the flash intensity, color tone, and mood to suit your image.
Best Instagram Flash Filter AI Photo Editing Prompt
The best flash-filter edit should look like a photograph captured with a real camera flash rather than a completely regenerated AI image. This master prompt focuses on applying the lighting treatment and photographic style while retaining the important visual elements already present in your photo.
What Is the Instagram Flash Filter Photo Trend?
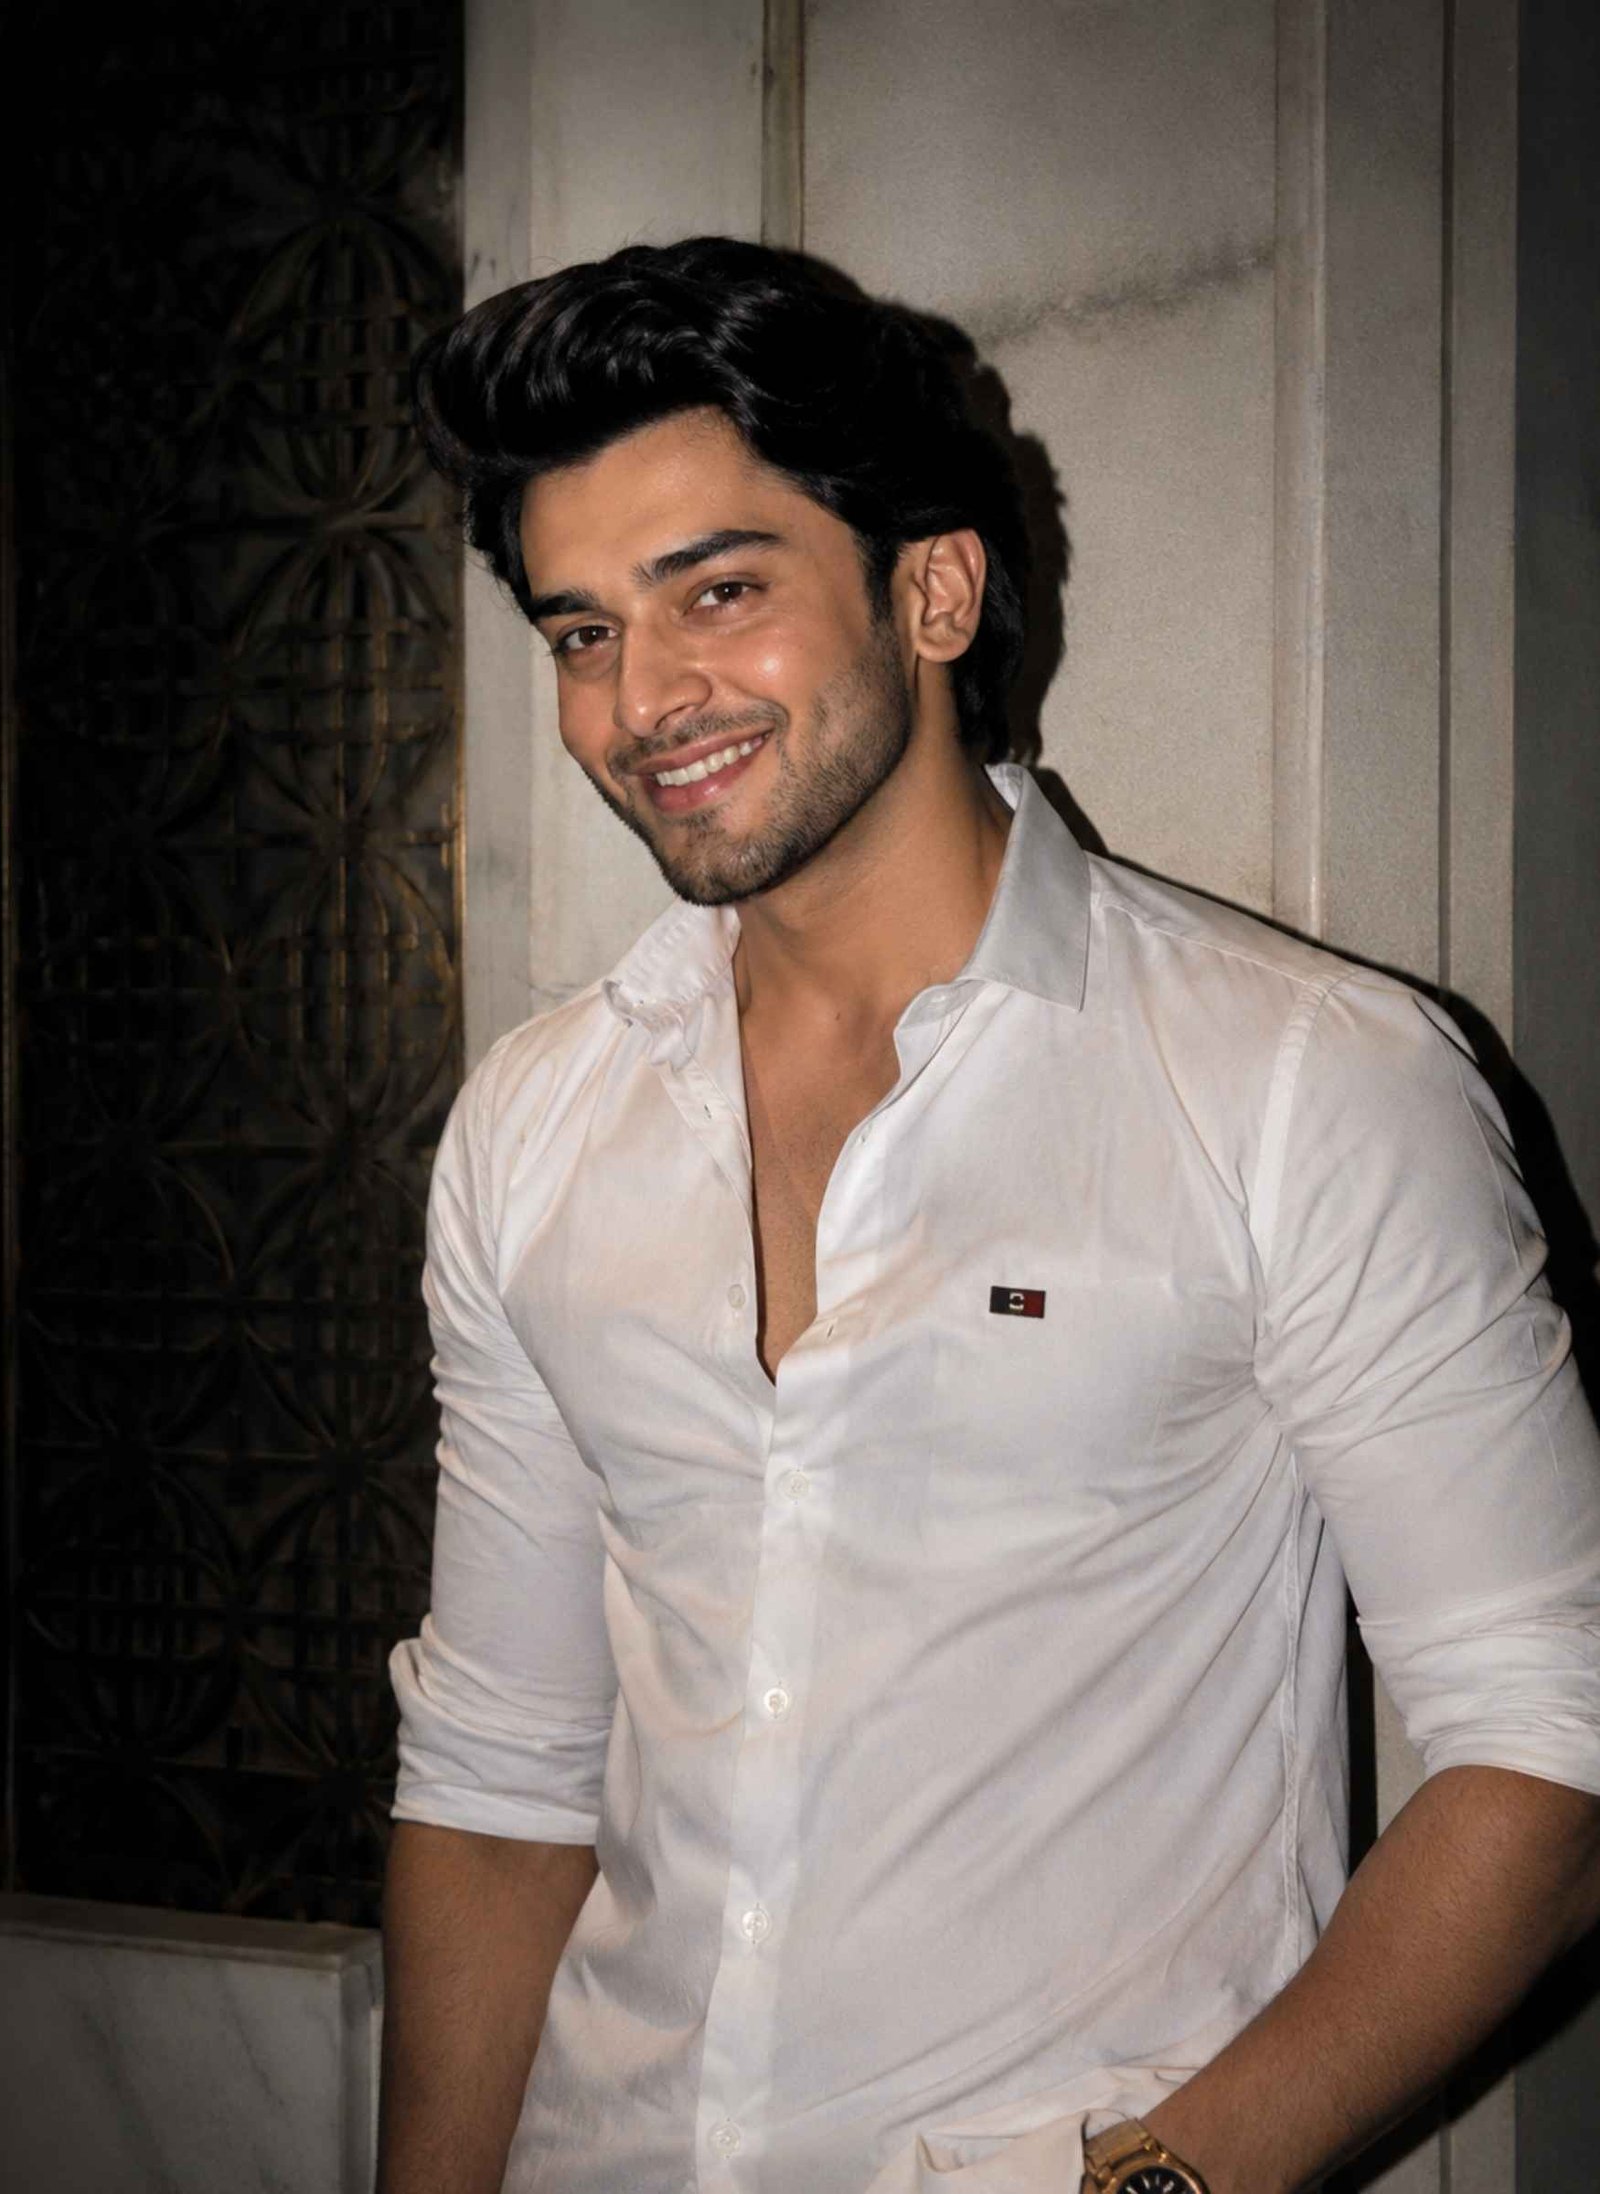
The Instagram flash filter trend recreates the visual character of photos taken with a strong camera flash in a darker environment. Instead of evenly lighting the entire frame, the subject receives most of the illumination while the surroundings remain comparatively dark.
This creates the high-contrast appearance commonly associated with nightlife photography, celebrity event photos, fashion editorials, party pictures, and casual paparazzi-style shots.
AI image editing makes it possible to recreate this aesthetic on an existing photograph without manually balancing exposure, highlights, shadows, grain, and color tones in a traditional photo editor.
The result can work particularly well for profile pictures, fashion portraits, night photos, party shots, and Instagram posts where a bold photographic style is preferred.
What Does the Instagram Flash Filter Effect Look Like?
A convincing flash-filter image is created by several photographic characteristics working together.
- Direct flash lighting: The subject appears strongly illuminated from near the camera position, creating the recognizable on-camera flash effect.
- Darker surroundings: The background receives less exposure than the person, helping the subject stand out clearly.
- Defined shadows: Direct light can create noticeable shadows, but they should still follow the shapes and positions of the people and objects in the scene.
- Strong contrast: Bright subject details against a darker environment give the image its punchy editorial character.
- Natural skin tones: Even when the surrounding scene uses cooler blue, teal, or green tones, skin should remain believable.
- Subtle film grain: Fine photographic grain can reduce an overly digital appearance and add a slight analog-camera character.
- Crisp textures: Hair, fabric, jewellery, and other visible details should remain sharp enough to support the flash-photography look.
These characteristics are more important than simply increasing brightness. An image with uniformly boosted exposure will usually look different from a genuine direct-flash photograph.
How to Create an Instagram Flash Filter Photo With AI
Start with a clear original image and upload it to Gemini AI, ChatGPT or any AI editor app that supports reference-image editing.
Copy the master Instagram flash filter prompt above and submit it with your photo. The AI should use the uploaded image as the source while applying the requested direct-flash lighting and photographic treatment.
Once the result is generated, inspect the image instead of accepting it immediately. Pay particular attention to facial appearance, flash exposure, shadows, skin tone, hands, and small clothing details.
If the overall result is good but the flash is too intense, use a targeted follow-up instruction such as:
“Reduce the direct-flash intensity slightly while keeping the current composition, subject, colors, and photographic style unchanged.”
Making a small correction is usually more controlled than asking the model to recreate the entire edit with a completely different prompt.
How to Keep Your Face the Same While Applying the Flash Effect
When using generative AI for photo editing, there is an important difference between changing lighting and changing appearance.
For this effect, the goal is to modify the photographic treatment rather than redesign the person. Instructions related to identity should therefore be precise.
The master prompt tells the AI to retain recognizable facial structure, expression, hairstyle, skin tone, age appearance, and body proportions. It also avoids unnecessary appearance-related requests that could encourage the model to reinterpret the face.
For identity-sensitive edits, avoid vague phrases such as “make me more handsome,” “create a perfect face,” “give flawless skin,” or “make the person beautiful.” These instructions introduce a different editing goal and can move the result away from the source photograph.
A clear, front-facing or slightly angled source photo also gives the model more useful facial information than a heavily blurred, tiny, covered, or extremely dark face.
Can You Use the Flash Filter Prompt for Couples and Group Photos?
Yes. The same prompt can be applied to couples, friends, family members, and group photographs.
The main challenge with multiple people is lighting consistency. A direct flash should illuminate people according to their distance and position relative to the camera. One person should not appear naturally exposed while another has completely unrelated lighting.
Group edits also require individual identity handling. The prompt therefore instructs the model to treat each visible person separately instead of blending or duplicating facial characteristics.
For large groups, start with an image where faces are reasonably visible. People positioned far in the background may contain too little detail for reliable generative editing.
Best Photos to Use With the Instagram Flash Filter Prompt
Not every source image will benefit equally from a direct-flash aesthetic. Choosing an appropriate starting photograph can make the result much more convincing.
- Night and evening portraits are an obvious fit because the darker surroundings naturally support strong foreground flash.
- Indoor party photos can work well with direct lighting, deep background shadows, and visible ambient lights.
- Street-style portraits suit a raw paparazzi or editorial flash treatment, particularly when the surroundings contain signs, vehicles, storefronts, or city lights.
- Fashion photos can use stronger contrast and crisp clothing texture for a magazine-inspired finish.
- Simple selfies and profile portraits can also work, especially when the subject is clearly visible and separated from the background.
Daylight images can still be edited, but forcing a dark nightlife treatment onto a bright outdoor scene may require larger changes to the original lighting and can make the result less natural.
Common Instagram Flash Filter Problems and Fixes
- The face is too bright: The simulated flash may produce clipped highlights on the forehead, cheeks, or nose. Ask for softer flash intensity and controlled facial highlights while retaining the dark-background effect.
- The skin looks unnatural: If the skin becomes too orange, pale, blue, or heavily smoothed, request realistic skin texture and a natural skin tone under neutral flash illumination.
- The background becomes completely black: A dark background does not need to be empty. Ask the AI to retain subtle ambient detail, practical lights, architecture, furniture, or other elements visible in the source.
- The image looks like a normal bright photo: The effect may lack enough subject-to-background separation. Request direct frontal flash, deeper ambient exposure, stronger photographic contrast, and realistic flash falloff.
- The result has too much grain: Film grain should provide texture rather than obscure facial and clothing details. Reduce it to a fine, subtle analog grain.
- The AI changes the original scene: If objects, clothing, or surroundings are being replaced, instruct the model to modify only the lighting, tonal treatment, contrast, and photographic texture while retaining the existing composition.
How to Customize the Flash Filter Look
The master prompt creates a balanced starting point, but the same direct-flash technique can produce several different moods without changing the underlying photograph.
For a paparazzi-style photo, increase the sense of spontaneous direct flash, strong foreground exposure, darker surroundings, and candid camera energy.
For a cinematic flash look, use more controlled contrast, subtle cool ambient tones, soft background lights, and polished color grading.
For a retro digital-camera aesthetic, introduce mild sensor noise, slightly imperfect exposure, restrained saturation, and an early compact-camera feeling.
For a fashion editorial look, emphasize clean clothing texture, intentional composition, controlled highlights, deeper blacks, and premium magazine photography.
For a nightlife aesthetic, retain colored practical lights in the background while using neutral or slightly warm direct flash on the people.
Only customize the elements that support the desired visual style. Changing too many unrelated details can turn a simple flash edit into a new AI-generated scene.
FAQs About Instagram Flash Filter AI Photo Editing Prompt
Final Thoughts
A strong Instagram flash filter AI photo editing prompt should control the lighting and photographic mood without turning the source picture into an unrelated image. Direct on-camera flash, darker ambient exposure, realistic shadows, crisp texture, balanced skin tones, and subtle grain create the core aesthetic.
Use the master prompt as your starting point, then adjust only the flash intensity or visual mood when necessary. Whether you are editing a selfie, fashion portrait, couple photo, party shot, or group picture, the goal is a believable direct-flash photograph that still retains the character of the original image.


One Comment